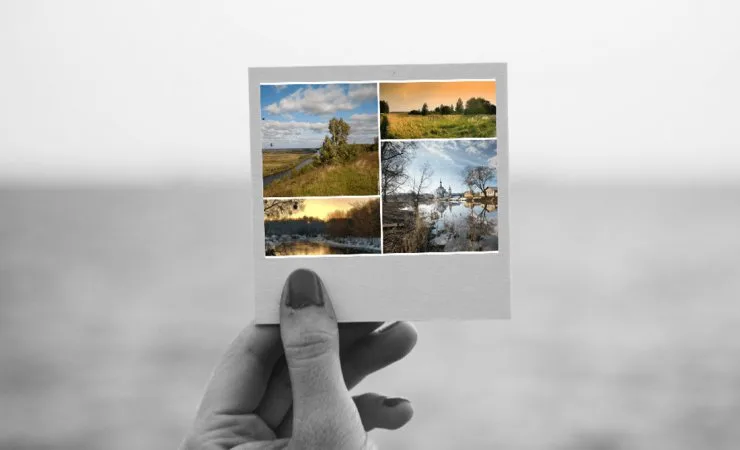
When the collage is ready, there are two different things you can do with it: download a picture — the finished result for a post, a print or sharing with friends — or save the project, a special file that remembers every cell, photo, text and setting so you can keep working later. These are not the same thing, and both are covered below.
Download the finished collage
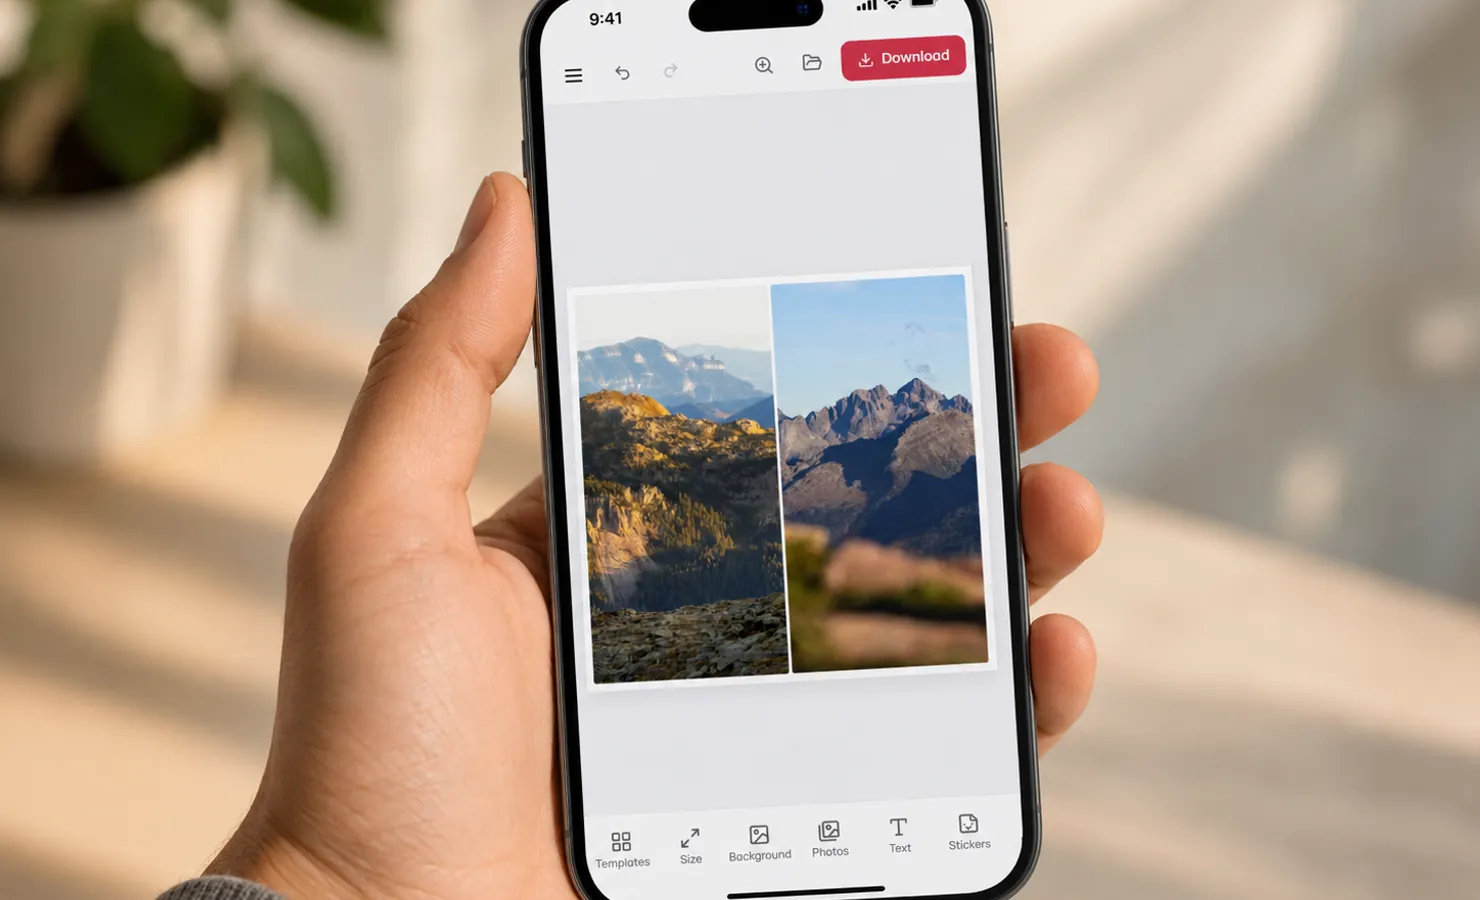
Open the “Download” dialog, choose a format and settings, and save the result to your device. A downloaded picture is the final result — it can no longer be edited. If the work isn’t finished, save the project first (see below).
- JPG — the lightest format, opens everywhere. The “Quality” slider balances sharpness against file size; 80–90% is a good choice in most cases. JPG has no transparency — empty areas are filled with the background. Best for social media and sharing.
- PNG — lossless, larger than JPG. Use it when crisp lines and text matter. A “Transparent background” option is available — empty areas stay transparent.
- PDF — for documents and printing. Turn on the “Print quality (300 DPI)” switch to get a file for a print shop: it is built from the full-resolution original photos.
For JPG and PNG there is a ×1 / ×2 / ×3 scale multiplier that enlarges the image relative to the canvas size. ×1 is the exact canvas size; ×2 and ×3 are larger and sharper (for example, to print a small photo). The final size in pixels is shown next to it.
Where the file is saved and how to find it
MyCollages has no storage of its own: the download is handled by your browser the usual way. The file goes to the same folder where the browser saves all your other downloads, and by default the name starts with “mycollages” (the extension depends on the format — .jpg, .png or .pdf).
- Windows and Linux — the “Downloads” folder. Fastest: press Ctrl+J in the browser to open the downloads list, then use “Show in folder” next to the file.
- macOS — the “Downloads” folder, also available from the Dock icon (⌘+Shift+J in Chrome, ⌘+Option+L in Safari).
- Android — the “Download” folder in internal storage; open the “Files” (or “My Files”) app → “Downloads”. You can then save the picture to the gallery via the Share menu.
- iPhone / iPad — the file goes to the “Files” app → “Downloads”. The downloads icon is the down-arrow in Safari’s address bar.
On iPhone and iPad, because of Safari’s limitations the direct download sometimes doesn’t fire and the picture simply opens in a new tab. If that happens, press and hold the image for a couple of seconds, then choose “Save to Photos” or “Add to Files”.
Can’t find the file? Open the browser’s own downloads list (Ctrl+J on desktop, “Downloads” in the menu on mobile) — from there you can always open the file or reveal its location, even if the default folder was changed.
Save the project to keep editing later
A downloaded picture can’t be edited, and the service remembers nothing between sessions — so if the collage isn’t finished yet, open the “Download” dialog and switch to the “Save project” tab. You get a .json file stored on your device that remembers everything: cells, photos, text, background and settings. This is the only way not to lose unfinished work.
To return to it, click “Open” and load that .json back into the editor — you can continue from the same place, even on another device.
The “Include original photos” toggle makes the file several times heavier, but after reopening the full print quality is preserved. Without it the file is light, but photo quality is screen-level. The approximate file size is shown next to it.
Getting a good file for print
- Use photos with the green quality check (see “Photo editing”).
- Set the canvas size to your target print format — A4, 10×15 or custom — in advance.
- For PDF, turn on “Print quality (300 DPI)”.
- If a red warning says a photo is low-resolution, replace that shot with a larger one, otherwise the print will be blurry.