MyCollages runs right in your browser — nothing to download or install, free, with no sign-up and no watermarks. All photos and projects stay on your device: nothing is uploaded to a server. On a computer you get a large canvas, a toolbar on the left, and handy extras — dragging files in with the mouse and keyboard shortcuts. Below is the whole path from an empty template to a finished file.
Step 1. Pick a template
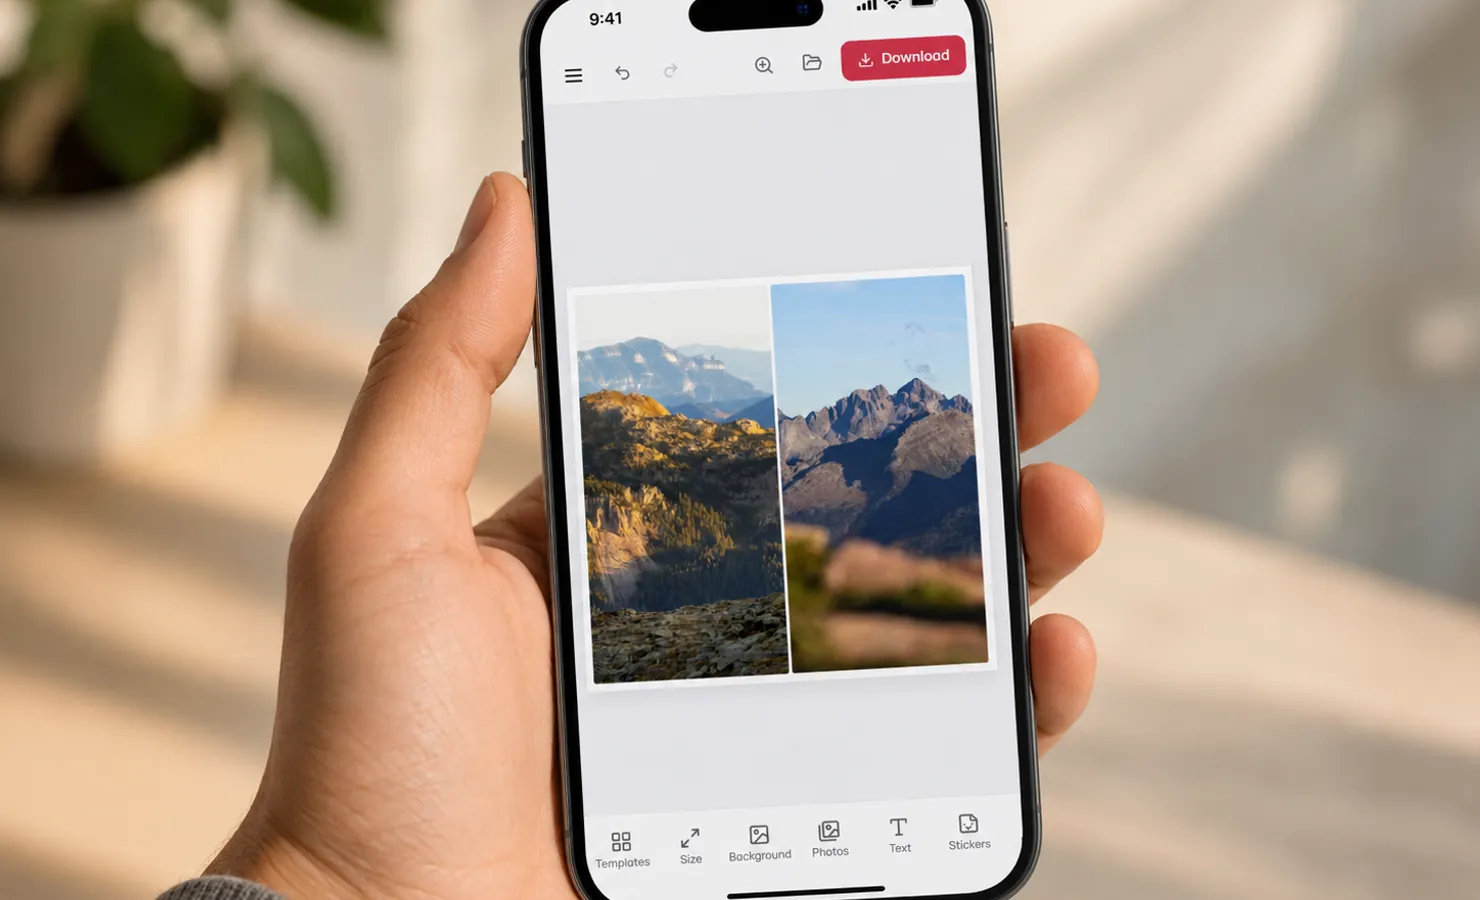
In the toolbar on the left, open “Templates”. The “Built-in” tab holds more than a hundred ready layouts: the “Template type” filter splits them into rectangular (even grids) and freeform (shapes — circles, hearts and more), and the “Photo count” slider narrows them down to the number of shots you have. You can also build your own layout — see “Templates for a collage and photo frames” and “How to build your own template”.
Step 2. Set the canvas size
The “Size” section sets the width and height of the final picture. Take a ready preset (a social-media post or cover, print formats like 10×15 or A4) or type your own width and height and press “Apply”. More pixels mean a sharper collage when printed, but a heavier file. Here too are two border-thickness sliders: “Outer border” (the margin around the whole collage) and “Gap between cells” (the space between photos), while “Cell radius” rounds the corners of rectangular cells.
Step 3. Set the background
The “Background” is the backdrop shown in the gaps between cells, in the outer border and in empty areas. Choose a solid “Colour”, a “Gradient” (two colours and a blend angle), a ready “Texture”, or upload “Your own image” (repeat, fill or fit). The “Shadow” slider lifts the cells off the background — it looks most three-dimensional when there’s a gap between cells.
Step 4. Add photos
The “Photos” section is your pool of uploaded images. There are three ways to add them:
- the upload button;
- dragging files with the mouse straight into the browser window — the fastest way on a computer;
- clicking an empty cell — a file picker opens just for that cell.
Then drag a photo from the pool into a cell; the same photo can go into several cells at once. Supported formats are JPG, PNG, WebP, GIF, BMP and iPhone HEIC/HEIF (converted automatically), up to 20 MB per file; camera RAW won’t load. A mark on the thumbnail hints at quality: a green check means high resolution (good for print), a red triangle means low resolution (it will look blurry in print), and no mark means normal quality (fine for screens and social media).
To adjust the framing, click a filled cell — move, scale, rotate, perspective, edge blur and filters open up. For more, see “Photo editing” and “Photo filters for your pictures”.
Step 5. Add text
The “Text” section adds captions, titles and dates. Type the text, pick a font (each one in the list is shown in its own typeface, and there’s a search by name), set the size, colour, weight and alignment, and bend the label along an arc if you like. For more, see “How to add text”.
Step 6. Stickers, frames and layers
In “Stickers” you’ll find stickers grouped by category: tap one to add it, then move, rotate and resize it. The “Frames” section adds artistic framing for the occasion (see “How to use photo frames”). If text and stickers overlap, the “Layers” section controls the stacking order and lets you hide or delete an element.
Step 7. Download the collage
Press “Download” and choose a format: JPG (for social media and sharing), PNG (lossless, with transparency) or PDF (for print, with a “Print quality 300 DPI” option). Set the scale (×1 / ×2 / ×3) and quality — the browser saves the file to your “Downloads” folder. If the collage isn’t finished, switch to the “Save project” tab: you’ll get a .json file to continue later. For more, see “How to save and download a collage”.
Handy on a computer
On a big screen, keyboard shortcuts speed things up (they work with any keyboard layout):
- Ctrl/⌘ + Z — undo, Ctrl/⌘ + Shift + Z — redo;
- Ctrl/⌘ + D — duplicate the selected text or sticker;
- Delete / Backspace — delete the selected element (or remove the photo from an open cell);
- Arrow keys — nudge an element by 1 pixel (hold Shift for 10);
- Esc — leave cell edit mode or clear the selection;
- Hold Space — the “hand” to drag around a zoomed-in canvas;
- F11 — the browser’s fullscreen mode.
The canvas zoom is changed with the “−/+” buttons in the bottom-right corner — it only affects the view in the editor, not the final file.