Every photo in a collage can be fitted to its cell and edited right in the editor — no separate software needed. A cell is a “window” in the template that a photo goes into; to adjust how the photo sits inside, open the cell in edit mode.
How to enter edit mode
Tap a filled cell once — it highlights and the rest of the collage dims so it doesn’t distract you. (If the cell is empty, the same tap opens a file picker.) In edit mode, move the photo to choose a good crop and change the scale so it fills the window nicely; guides hint at the centre. A toolbar appears at the bottom — its main buttons are covered below. To leave, press the “Done” check mark.
Rotate
Rotation is a slider from −180° to +180° (the circular-arrow button). Drag the handle or type an exact angle; it snaps to 0°, ±90° and 180°, and “Reset” returns to 0°. When tilted, the photo auto-fits the cell shape so no empty edges appear — so at a strong tilt the photo may grow a little.
Edge blur
Edge blur (the feather-icon button) fades the photo’s edges to transparent so the collage background shows through — a soft transition with no hard border. In the popover pick the type (“By sides” — fade along the chosen edges, or “Radial” — a soft oval transition from the centre, handy for shaped cells), the sides, and the strength with the 0–100% slider. If the collage is saved as a PNG with a transparent background, the blurred edges stay transparent.
Perspective
Perspective (the 3D-move-icon button) tilts the photo as if it were a plane turned in space. First choose an axis — “Horizontal” or “Vertical” — then two sliders: “Perspective” narrows the far edge (a depth effect), and “Tilt” slants the horizon or verticals. The effect reads best on photos with straight lines — a horizon, roads, buildings.
Flip
The flip buttons mirror the photo — horizontally or vertically. Handy when you want to turn the subject the other way or match the composition to neighbouring cells.
Filters
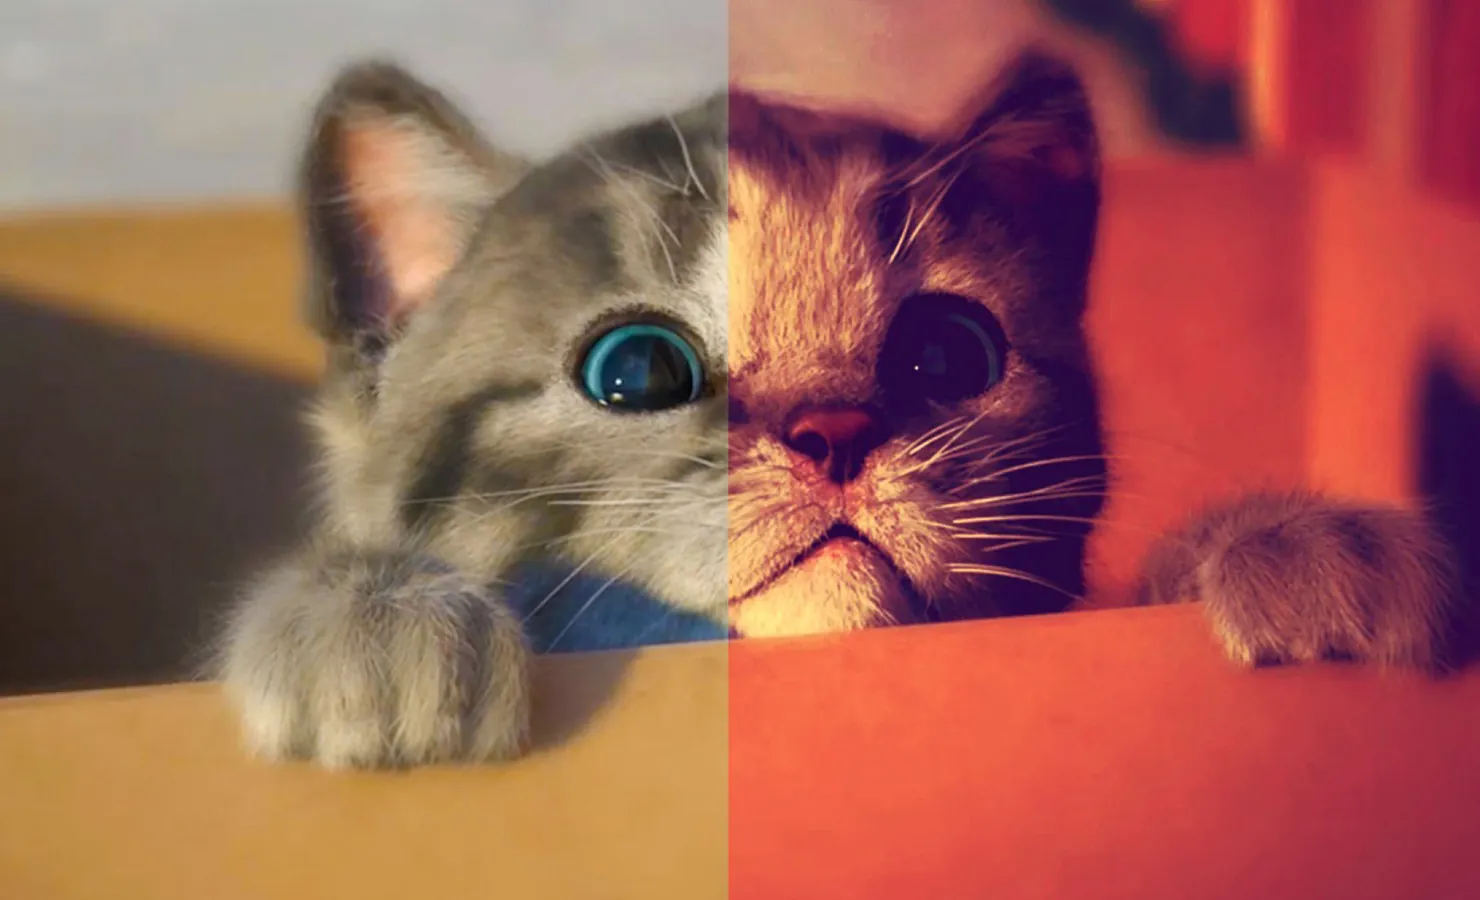
From the same bar you can apply a filter to the photo: a ready preset or manual brightness, contrast and saturation — separately for each cell. For more, see “Photo filters for your pictures”.
Cells themselves can’t be moved, deleted or duplicated — they’re part of the template. You can only fill them with photos and adjust the crop inside; only text and stickers move freely.