
A family tree from photos is a collage where relatives are arranged by generation: the eldest near the crown, parents in the middle, children at the base. You can put one together in your browser in an evening — no genealogy software needed. The trick is simple: build your own tree-shaped layout in the editor and set a picture of a tree as the background, so the photos land on the branches. The service is free and works on desktop and phone.
The idea in short
- In the builder you arrange your own layout — the cells sit like branches, by generation.
- You upload a picture of a tree as the collage background — the branches show between the photos and tie the composition together.
- You drop in the family photos, label the names and print.
Build a tree-shaped layout
Open the builder: on the “Templates” panel switch to the “My templates” tab and press “Create custom template”.
Switch to Freeform mode and add cells from the shape palette — rectangles work best, but circles, hearts and others are there too.
Place them by generation: the eldest at the top, parents in the middle, children at the base. You can move and resize each cell by hand, so the layout becomes an actual tree rather than an even grid — then press “Apply template”. For more on the builder, see “How to build your own template”.
Set a tree as the background
Open the “Background” section, go to “Custom image” and upload a picture of a tree.
A silhouette with spreading branches works best. Use the Fit or Fill mode so the tree sits neatly in the frame, and pick an image whose branches run where your cells are, so each photo ends up on its own branch.
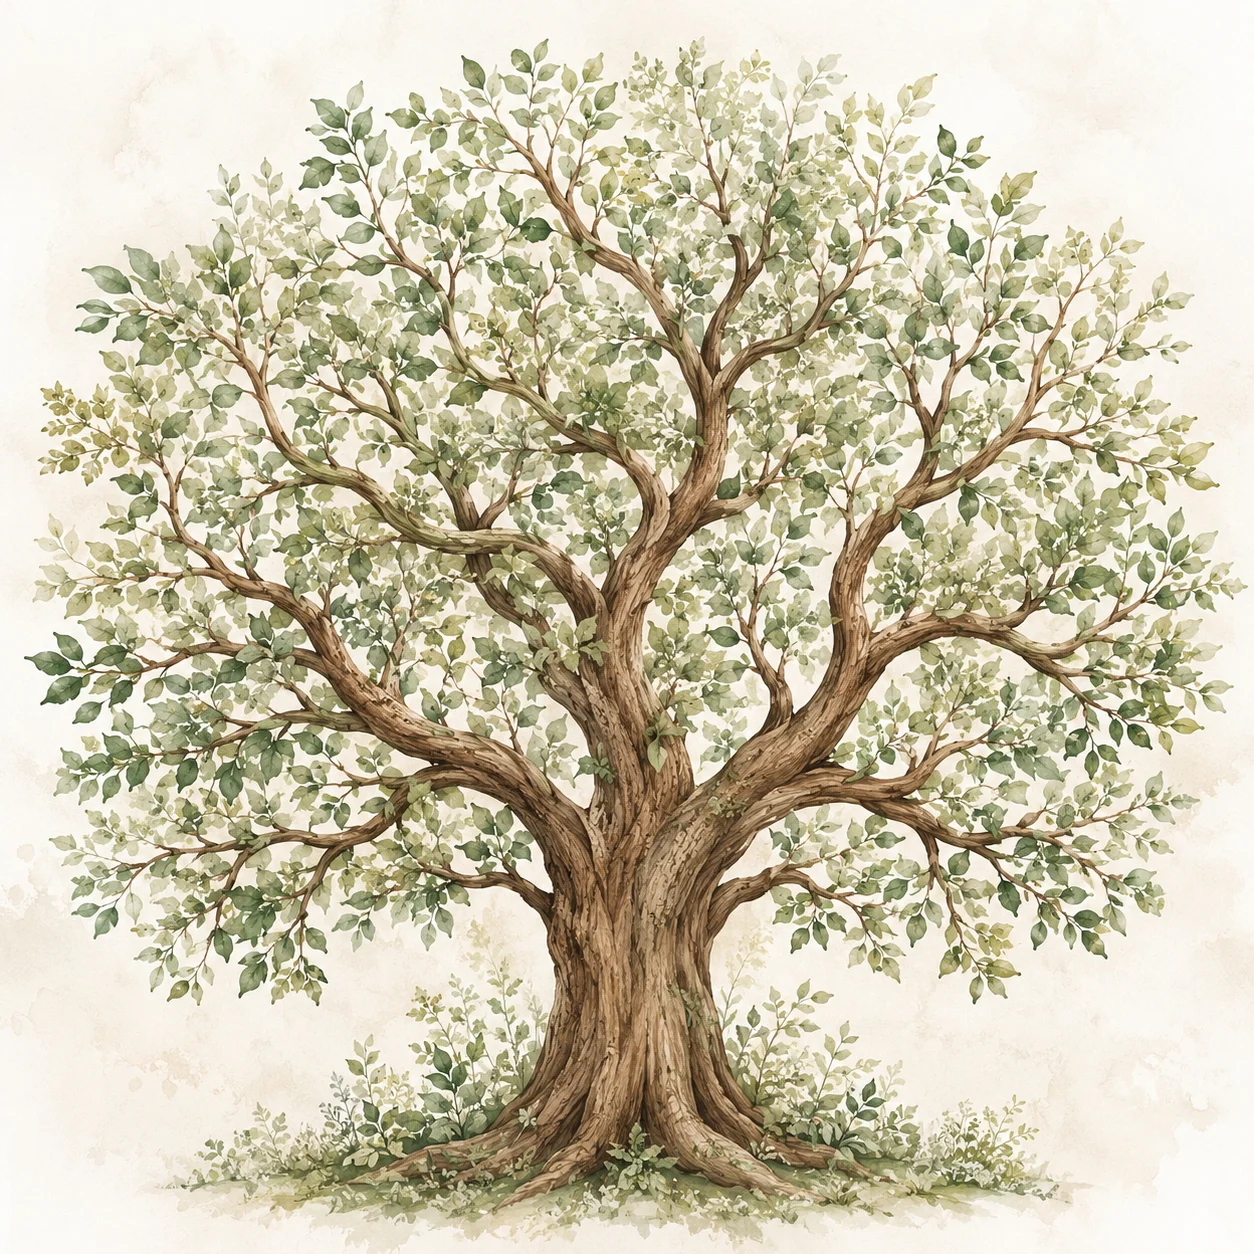
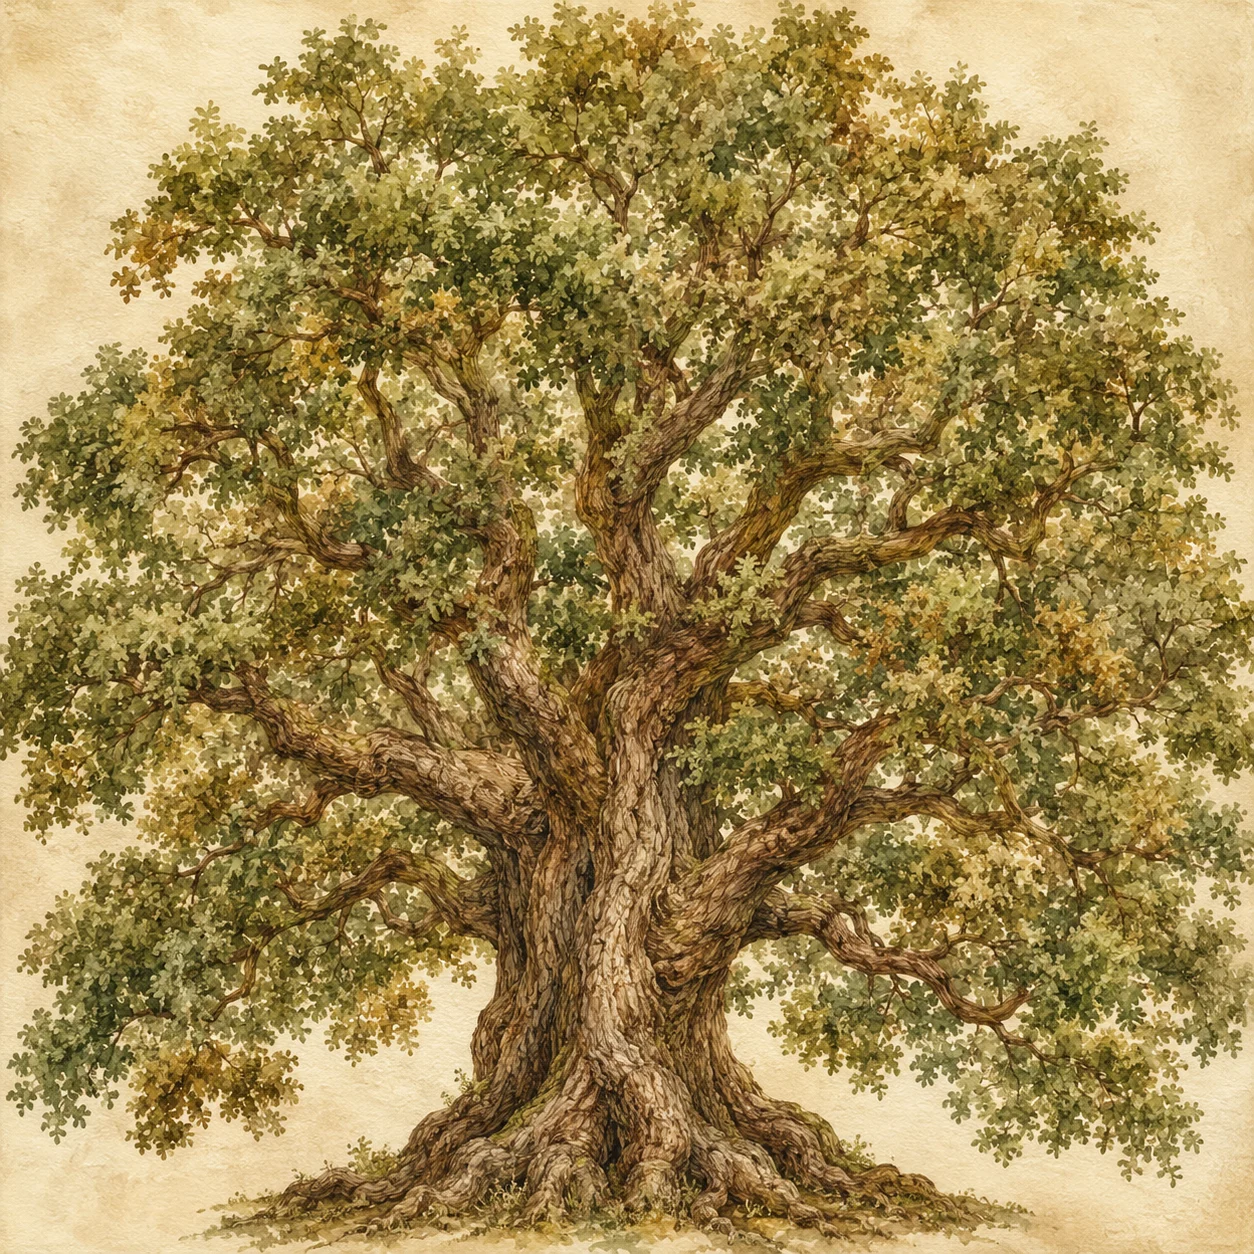
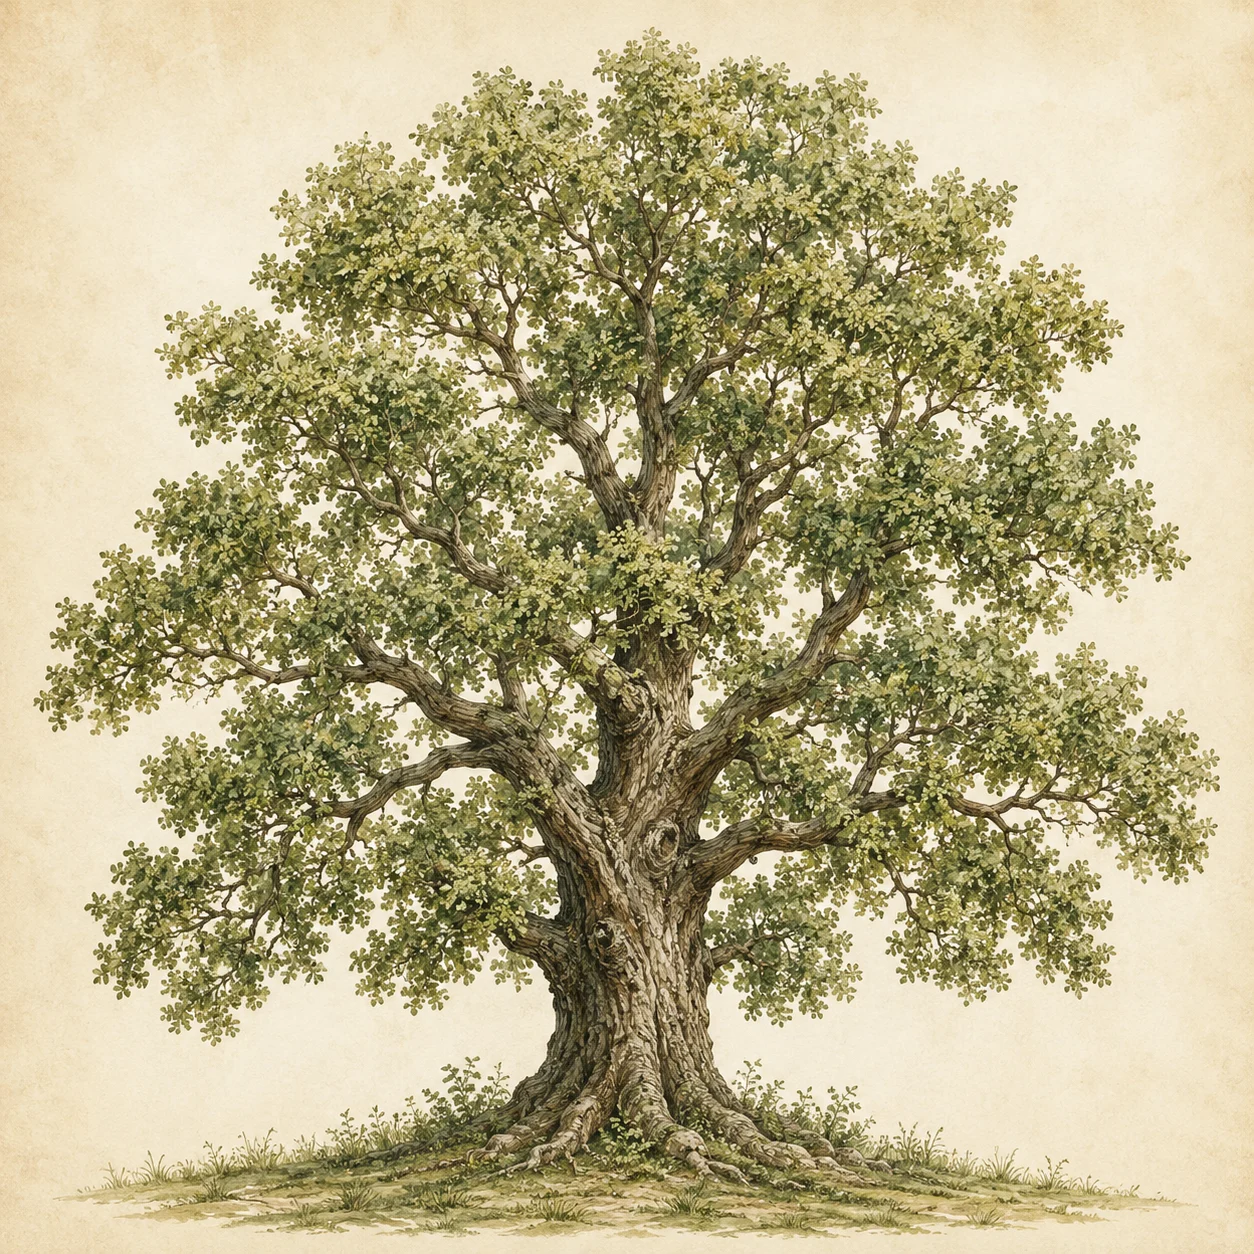
Take a ready-made tree
Don’t want to hunt for an image? Grab one of ours below and upload it as the background — just click to download:
Lift the photos with a shadow
In the “Background” section open the “Shadow” tab and raise the intensity — a soft shadow under each cell lifts the photos off the tree, so the tree reads as the backdrop.
Add photos and label the names
Drag each relative’s photo into its cell. Then use the “Text” tool to label the names — and the years if you like — so the tree is easy to read. For how to add captions, see “How to add text”.
A family touch
To keep the portraits in one style, dress them with a frame from the Family photo frames section — soft vignettes and patterns on a family theme. The key is one frame style and a calm tree background, so the composition doesn’t get busy.
Make it portrait and print
Set a portrait A-format in the “Size” panel (A3, for example) so the tree stands tall.
Let the tree fill the canvas (Fill), download a PDF with “Print quality (300 DPI)” turned on, and you get a family heirloom. For print formats and quality, see “Collage for printing”.