A video collage is an ordinary photo collage brought to life: the camera glides across it, or the cells appear one by one. The result is a short clip — 3 to 6 seconds — exactly what you need for Stories, Reels, TikTok or a messenger status. MyCollages does this for free, right in your browser: first you build a regular collage, then one switch turns it into a video.
How to turn on video
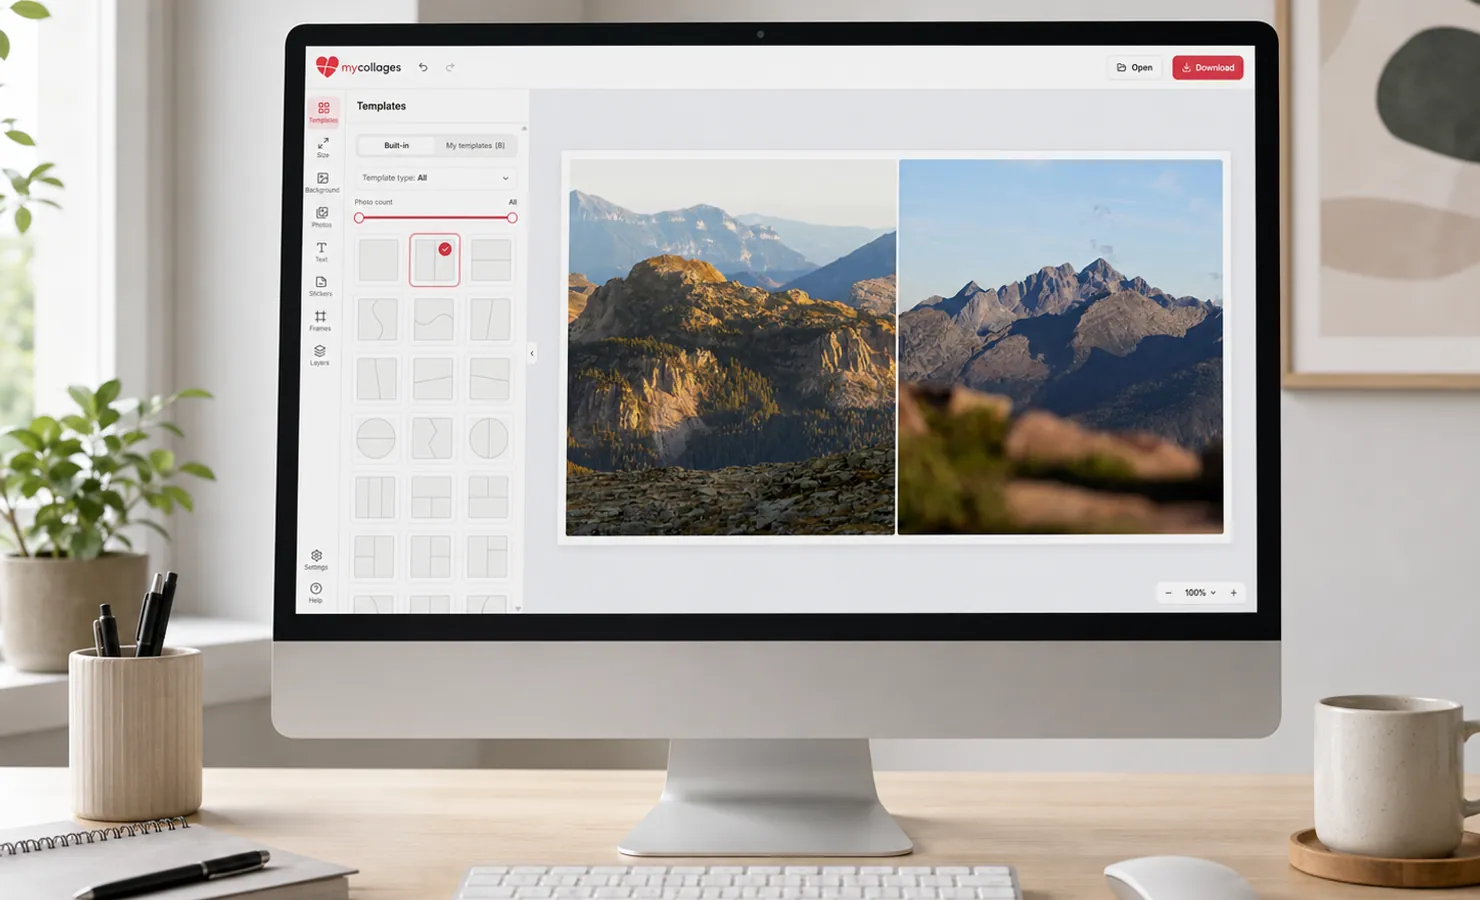
First build the collage as usual — add your photos, and text and a background if you like. When it’s ready, open the “Download” dialog and choose the “Video” format. A looping preview appears right under the settings: you can see how the clip will look before saving anything. Change the animation, size and duration and the preview updates on the fly.
Three animation types
- Slow zoom — the camera moves in toward the center of the collage, then smoothly pulls back to the full view. A universal option that works well with any collage.
- Photo tour — the camera focuses on each cell in turn, then zooms out to the whole collage at the end. Good when you want to show every shot up close.
- Appear — the cells show up one after another. The reveal style is chosen separately: “Dissolve” (they fade in place) or “Fly-in” (they fly into place).
Frame size and duration
Pick the frame size to match the platform: “Square” (1:1), “Story” (9:16, vertical) and “Post” (4:5). If the collage proportions don’t match the chosen size, margins are left along the edges. The “Blurred background” checkbox (on by default) fills them with a soft blur of the collage itself, so the edges look tidy; turn it off to use the collage’s real background. Clip duration is 3, 5 or 6 seconds.
MP4 or GIF
Usually a lightweight MP4 (H.264) is saved — it plays everywhere: on social media, iPhone and Android. If the browser can’t encode video, a GIF is created instead: it opens anywhere, but is larger and lower quality (a note in the dialog warns about this). The clip has no sound — that’s fine for Stories and Reels, where music is usually added inside the app itself.
Share and save
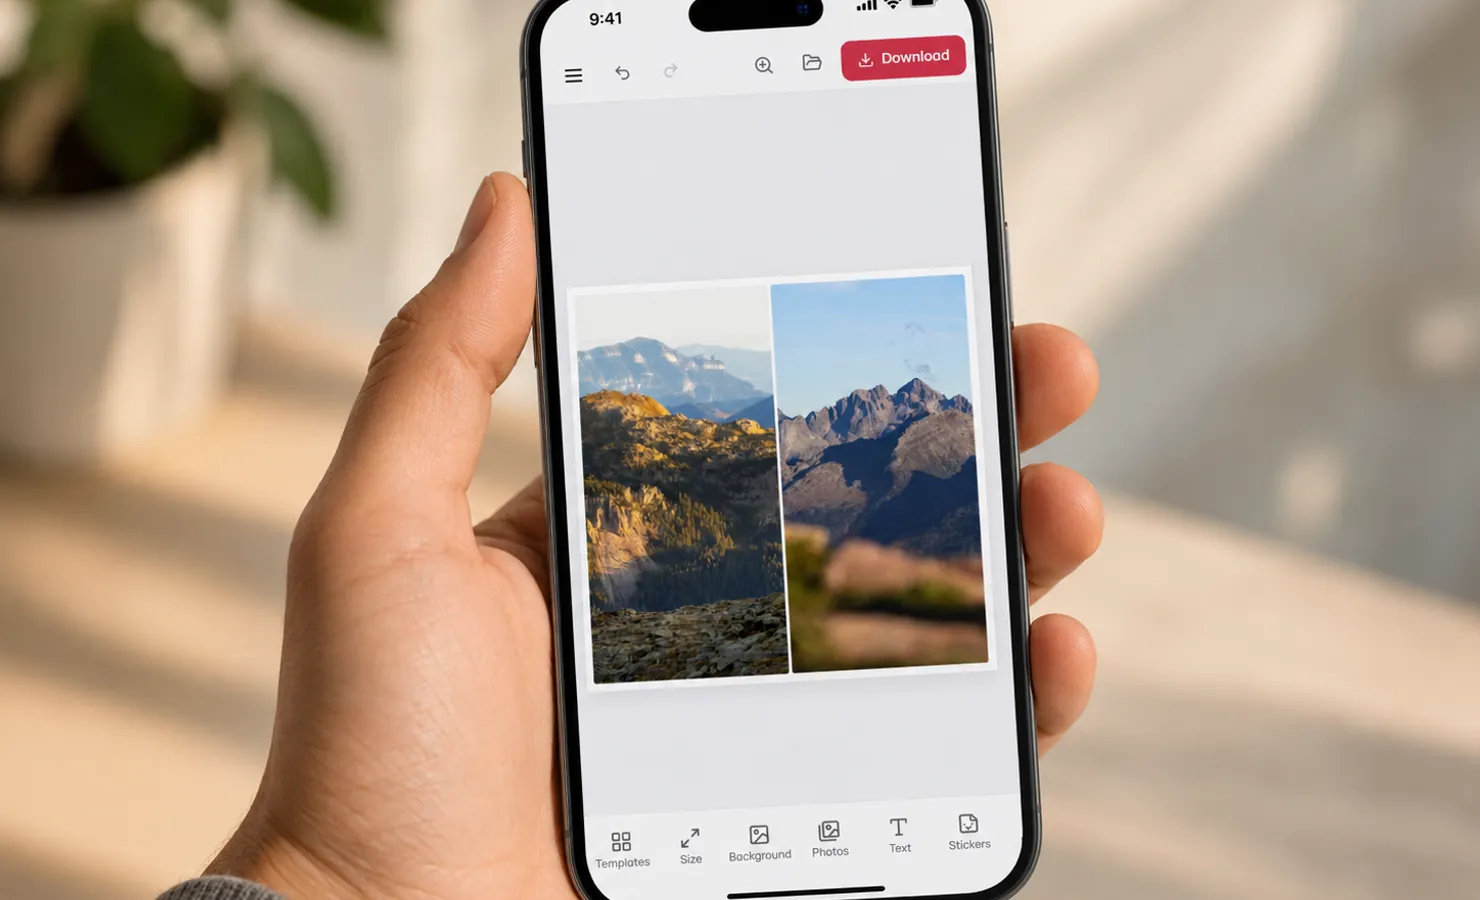
On a phone, the “Share” button opens the system menu — you can send the clip straight to Stories, Reels or a messenger without saving it first. If “Share” isn’t available, the video is simply downloaded as a file — just like on a computer: it goes to the “Downloads” folder, the name starts with “mycollages”, and the extension is .mp4 or .gif. For more on where the browser saves files, see the separate article.
Preparing the video takes a few seconds: the dialog shows progress as a percentage with a “Cancel” button. Wait for it to finish and don’t close the window.
Tips for a great clip
- For Stories and Reels, choose the “Story” size (9:16) — the clip will fill the whole phone screen.
- “Slow zoom” is the most universal option; “Photo tour” looks best on collages with 4–9 large shots.
- Build the collage first: the more interesting the source picture, the more striking the animation looks.
- The video is the final result and can’t be edited afterwards. To come back to the collage later and re-export the clip, save the project, not the picture.